Objectives
- Manually create an HTML.
- Establish an FTP connection between your computer and a PSU server.
Requiremnets
Download and install Filezilla (FTP app) and Brackets (rich text editor).
 A quick overview of the Brackets interface (we'll use the Live Preview button in the Assignment, but you can ignore it for now).
Create a local directory
Create a local directory on your computer; we'll create new files and edit them here before uploading them to the Web. Create a folder in your Documents folder or User folder called "local-directory" or "sites" (without the quotes) or whatever you want to call it (remember—no spaces!).
Create an HTML file
- Open Brackets
- File >>> Open folder
- Select your local directory.
- File >>> New
- Paste in the following code for a basic HTML document.
<!DOCTYPE html>
<html>
    <head>
        <meta charset="UTF-8">
        <title>Page Title</title>
    </head>
    <body>
        <!-- Add content here -->

    </body>
</html>
Add some text below the "Add content here" comment; remember to wrap your text in <p> or <h1> tags.
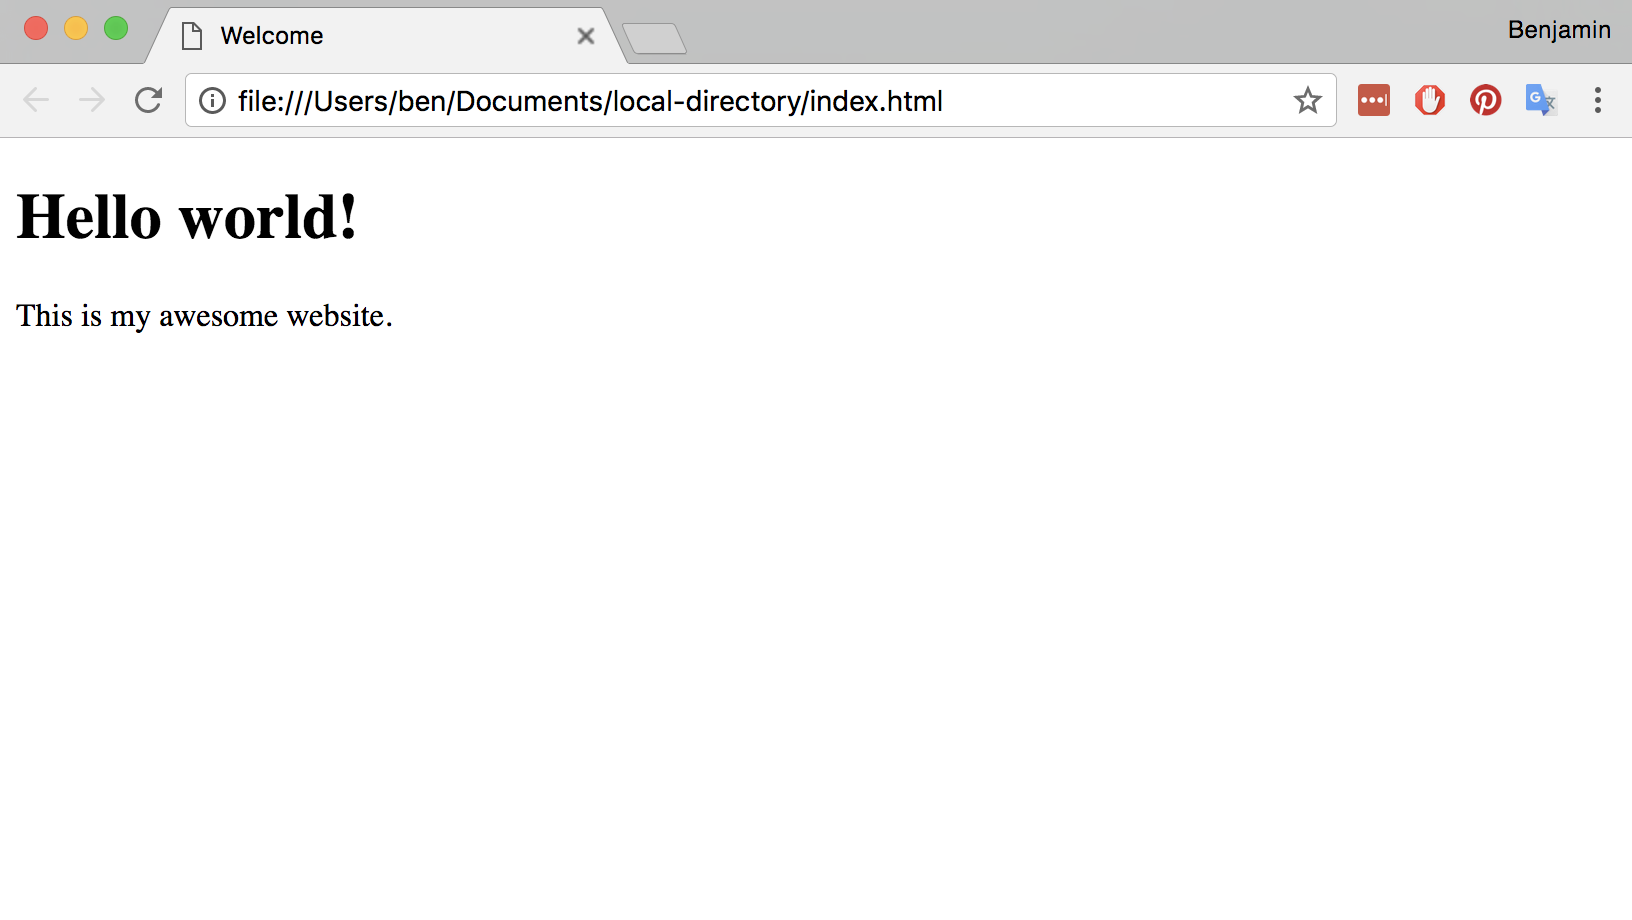
For example: <h1>Hello world!</h1>
PRO TIP: It's good practice to indent each line of text (press tab) to show levels of hierarchy—as seen below—but if you don't, the website will still work.

File >>> Save
Save this new file as "test.html" or something similar.

Now find your test.html file in your regular file browser, and double click on it to open it in a web browser. Nice job!
Add a custom font
In preparation for the landing page we'll be making in the assignment, let's make sure we can implement a custom font in an HTML file. If you used a font from Google Fonts in your mockup, you can use that font here—otherwise choose any font from Google Fonts.
Select the font on the website, and then click the black bar displaying "1 Family Selected" to view your chosen font. You should see a short piece of code like <link href="http://fonts.googleapis.com..."> for importing the font into a custom project.
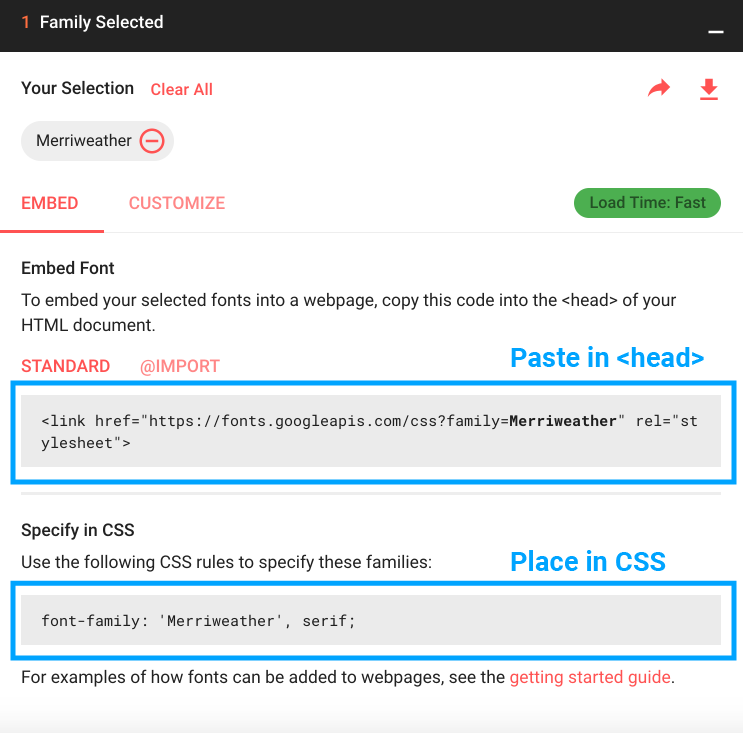
Copy the "Embed Font" code and paste it between the <head> and </head> tags in your HTML file. This will pull the necessary data from Google's servers into your HTML project (which means it requires Internet access to render the custom fonts).
Once that code is included in your HTML file, you can assign the custom font in your CSS by using the font-family attribute.
Since this is a simple test, you can just apply the font to all text in the document by targeting the <body> element like this:
body { font-family: 'Merriweather', serif; }
You would replace 'Merriweather' with the proper name of your font as it's labeled in Google Fonts. Check the capitalization and spaces if it's not working. By listing "serif" or "sans-serif" after the custom font, we're telling any web browsers which default HTML fonts to display in the event that our custom font can't be loaded for some reason.
If you have multiple text elements, and only want to apply your custom font to one type, you could specify the CSS like this:
p { font-family: 'Merriweather', serif; }
or
h1 class="custom" { font-family: 'Merriweather', serif; }
Setup FTP
NOTE: You must have already requested a PASS directory from this website.
Once you've got an original HTML file with a custom font, it's time to upload it to the INTERNET.
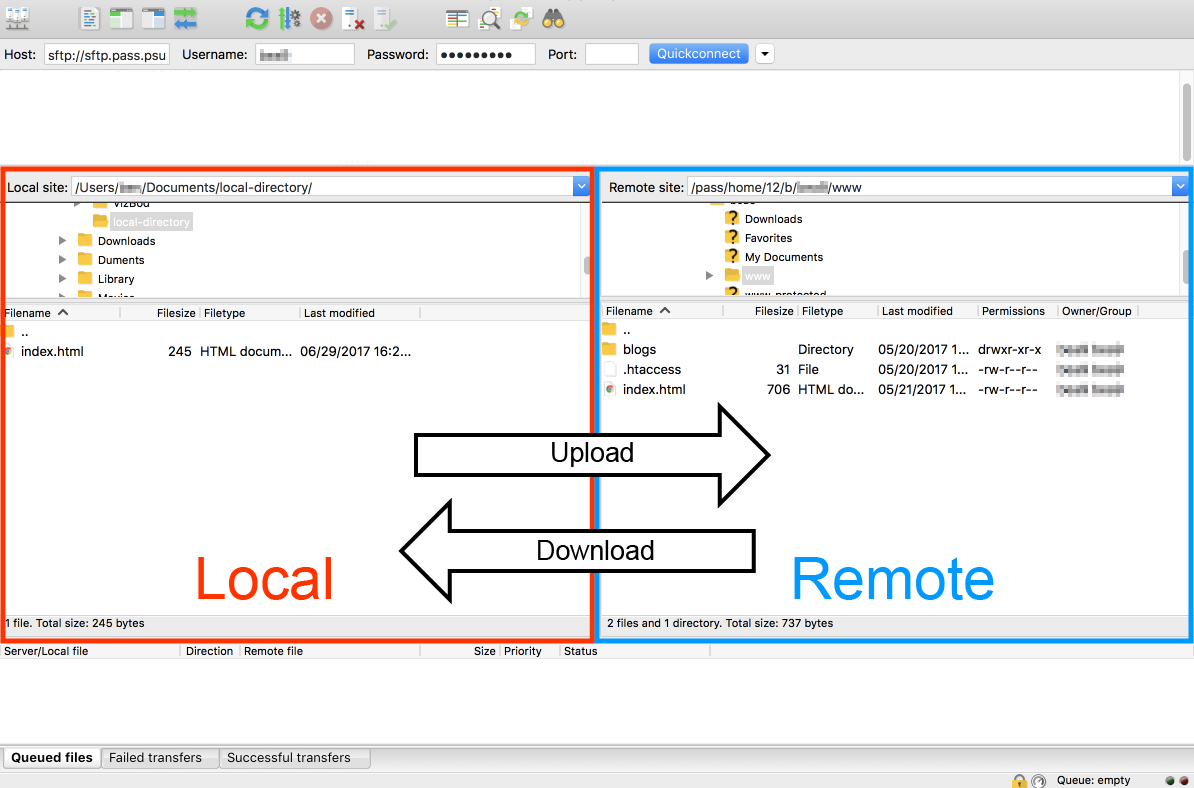
Open Filezilla; at the top of the window, there are fields labeled Host, Username, Password, and Port.
Enter the following information to direct the program to your virtual folder hosted through PSU.
- Host: sftp.pass.psu.edu
- Username: Your PSU username (e.g. "jsmith123")
- Password: Your PSU password
- Port: 22
Click "Quickconnect" — you may get a warning message, but it's probably fine to just hit okay. PSU's servers may not match the ideal standards held by Filezilla's developers.
After a few seconds you should see some folders appear on the right side of the screen. If you get an error message, you may have typed something in wrong, or your PASS directory may not have been activated yet. If it's still not working, you can try using the in-browser file manager: https://explorer.pass.psu.edu/
The Filezilla interface is divided into two sections: your local directory (left) and your remote directory (right). You can drag files back and forth to upload or download.
You will have to navigate to your local directory on the left side until you can se the "test.html" file you created.
On the right site, open the "www" folder and right-click to "create a new directory" and name it "art203" this creates a new folder within the public "www" folder; we will store our upcoming projects in this folder.
Open the "art203" folder on the remote serve (right-side) and drag your "test.html" file from your local directory in order to upload it to your PASS directory.
Now check that it uploaded successfully by going to: "http://personal.psu.edu/user123/art203/test.html" — but replace "user123" with your PSU username, and possibly and the name of your HTML file.
Submit your URL to the following assignment:
[INSERT ASSIGNMENT LINK]