For this assignment, students will create a graphic mockup of a one-page website that we will develop in Lesson 4.
Objectives
- Use professional imaging software to compose a detailed rendering of a web layout.
- Utilize typography, colors, and images to create a cohesive style that compliments the site's content.
- Consider flexible layout in mobile and desktop contexts.
Designing Mockups
As a designer, it's valuable to have development skill to build functional prototypes, but even when adopting the role of a developer/designer, many would choose to begin with a mockup. Once the mockup has been created it can be recreated exactly as a functioning website, or, depending on the project, the design may change during the development process.
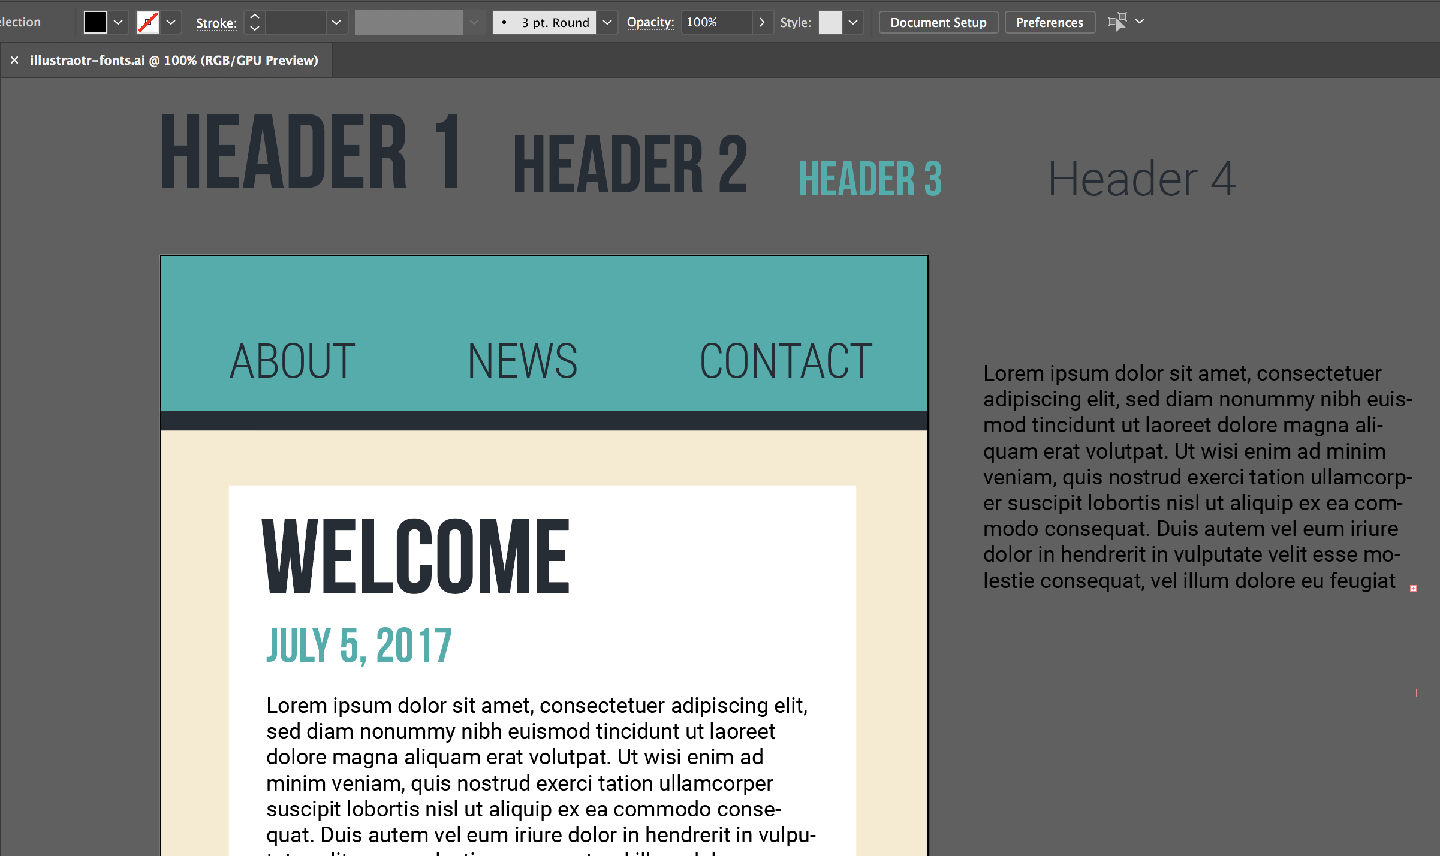
A good mockup should look like a real website, and include details like navigation menus, text, and icons.
Your finished mockup should include two images:
- A mobile layout (640px wide)
- A desktop layout (1280px wide)
The height of each layout will be determined by the content of your particular project.
Instructions
Use the Lynda course Illustrator for Web Design as a reference for this process.
Step 1: Document Setup
You may want to work directly from the Illustrator file used for your Wireframe, or you can create a new document and use the wireframe as a reference. You still want to have two artboards with the widths specified above.
_PRO TIP: _If you do work directly from your wireframe project file, choose File >>> Save As to create a new file—and retain the wireframe as separate file.
Step 2: Set up colors
If you created your color palette with Adobe Color, you can access your palette directly through Illustrator's Libraries window. Lynda offers a walkthrough of that process in Using Adobe Color in Illustrator CC.
Otherwise, you can just copy and paste the hex-codes to create some generic shapes with your color palette, and then create swatches of those colors (another Lynda video) to easily reuse them in your project with the eyedropper tool.
Step 3: Set up fonts
You should absolutely look beyond the standard web-safe fonts for this assignment.
For easy use in building the eventual website, use fonts from Google Fonts or Adobe Typekit.
One approach is to create some placeholder text outside of your document's artboards to get a feel for how your fonts look together, and you can adjust the relative size of headers and body text. That way you can quickly use the Eyedropper tool (I) to apply those styles to new text in your project.
Step 4. Add images
Add some images and icons! Illustrator is great for drawing simple icons and decorations. If you haven't used Illustrator before, check out Lynda's Illustrator CC 2017 Essential Training — especially section five: "Drawing Basic Shapes."
You can find many, many icons online too. Here are two great reousrces:
The Noun Project — Create an account to download SVG on PNG icons. Most icons are licensed under Creative Commons, so you should credit the author somewhere on your website.
Google Material Design — Icons from Google's overarching "Material Design" UI system. According to Google, these icons are "available under the Apache License Version 2.0. We'd love attribution in your app's "about" screen, but it's not required"
Step 7. Export
See instructions in Exercise 2.